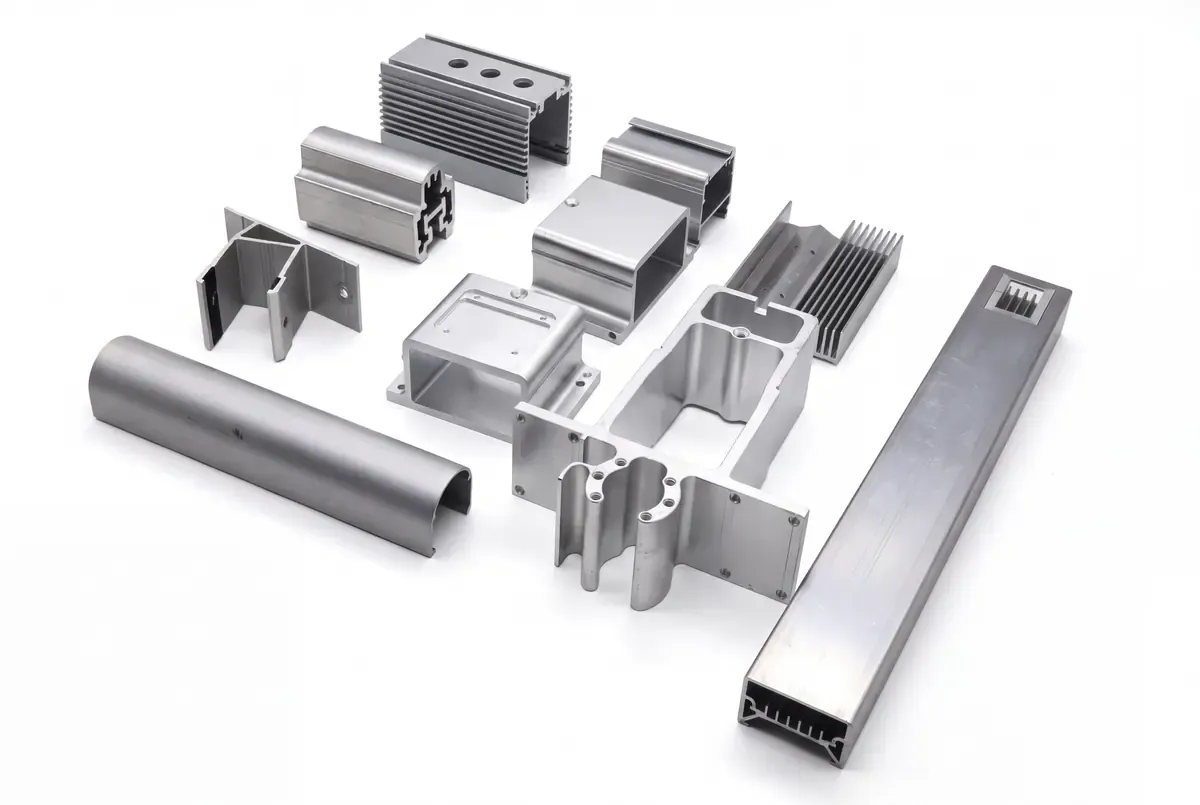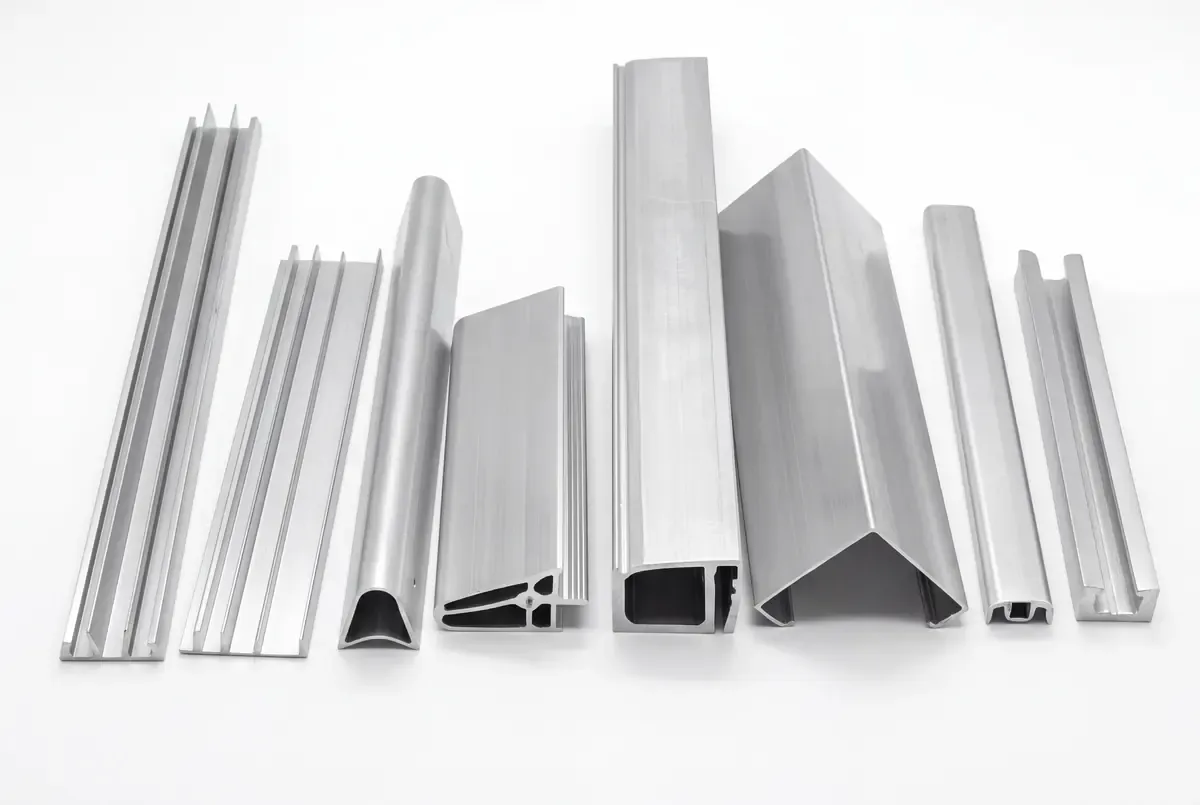
Aluminum extrusion is useful when a component needs the same cross-section along its length. A heated billet is forced through a shaped die, creating a long profile that can later be cut, machined, and finished. That principle looks simple, but the price and reliability of a finished component depend on decisions made well beyond the press.
For a buyer, the useful comparison is the total route to an installable part. Die cost, material, extrusion behavior, cut length, CNC work, finish, inspection, and packaging all belong in the estimate. Our aluminum extrusion service starts with that finished-part view.
How the aluminum extrusion process works
The die opening establishes the profile’s cross-section. A billet is prepared for the specified alloy and process, then pushed through the die under pressure. The emerging profile is supported, cooled, straightened as needed, and cut to the planned length. Heat treatment or aging may follow, depending on the alloy and temper.
The Aluminum Association’s process overview notes that the extruded shape usually needs fabrication or finishing before it becomes a commercial component. That distinction matters when comparing a raw-profile quote with a quote for parts ready for assembly.
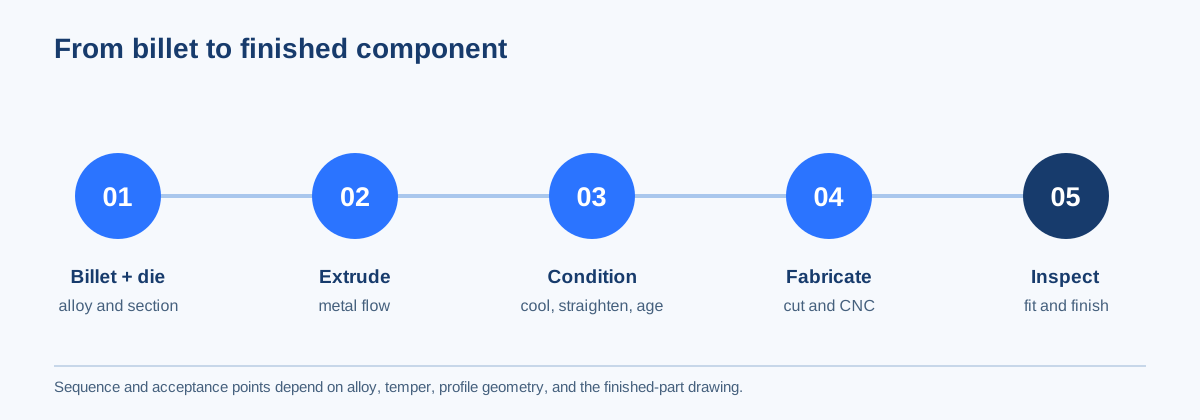
The five stages to plan together
- Alloy and section: Choose a candidate alloy and temper around strength, appearance, conductivity, corrosion exposure, and manufacturability. Draw the complete cross-section, including internal voids and visible faces.
- Die and trial: Select a die approach for a solid, semi-hollow, or hollow profile. The first trial is used to evaluate flow, twist, dimensions, and surface quality.
- Conditioning: Cooling, straightening, and aging help establish the required form and properties. These operations should be considered when setting profile tolerances.
- Secondary fabrication: Cut-to-length, holes, slots, threads, and machined mounting faces turn a profile into a usable part. A constant cross-section cannot create a feature that changes along the length without a later operation.
- Finishing and release: Specify the visible finish, protected functional faces, final dimensions, inspection points, and packaging.
What drives extrusion cost?
Die complexity and revision risk
A custom die is a one-time investment, but its complexity affects development work and maintenance. Deep narrow features, enclosed voids, and large differences in wall thickness may require a more demanding die and more trial correction. Freeze the functional section only after a manufacturability review; a cheap unit price has little value if the die must be repeatedly revised.
Material and usable yield
Alloy, temper, billet size, profile weight, and cut length influence material use. Scrap can arise from press ends, trial lengths, saw cuts, and defects. The relevant question is how much material is purchased to deliver the accepted finished quantity, rather than only the nominal weight of one part.
Volume and tooling allocation
The same die cost represents a large share of a short program and a smaller share of a long repeat program. Quote both the expected batch and annual demand. If the design may change after validation, a lower-commitment prototype route can be more economical than committing to a die too early.
Secondary operations and finish
Extrusion puts material in the right longitudinal shape, but holes, threaded features, tight local datums, and special surfaces add operations. Machining allowances, fixturing, anodizing or coating, inspection, and packaging may dominate the cost of a small finished component. Our heat sink profile case illustrates why the mounting face and finish need to be planned with the profile.
Where extrusion is a strong fit
Extrusion works especially well for rails, channels, structural sections, heat sinks, enclosure frames, and other parts that benefit from a repeatable section. Ribs and grooves can add stiffness, alignment, or assembly functions without joining separate components. The Aluminum Extruders Council’s design tips recommend balanced wall thickness and smooth transitions because they help control the process.
When a part changes shape throughout its length, needs only a few units, or has many three-dimensional features, CNC machining or another process may be more practical. The comparison should include the finished geometry and volume, not just the base material.
What to send for an accurate quote
Provide the section drawing, finished-part drawing, target alloy and temper if known, cut length, annual and batch volumes, and surface requirements. Mark critical interfaces, visible faces, and any zones that should remain free of coating. If the section is still open to change, our die design guide explains the details worth reviewing first.
Request an extrusion quote with those files. We can compare profile and secondary-operation choices before the manufacturing route is fixed.